|
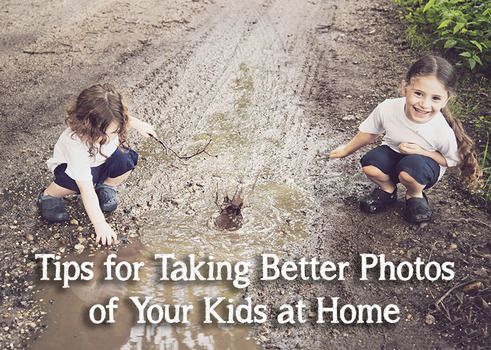
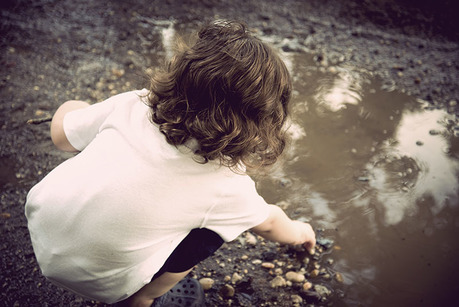
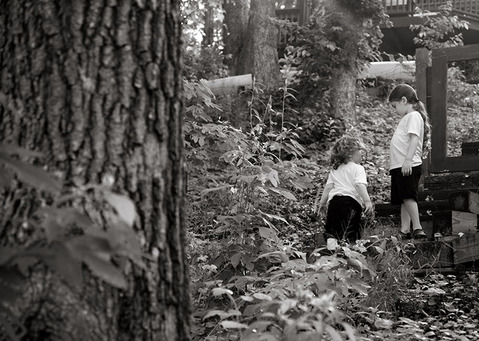
As a photographer, I want to see my clients come in for professional photos as much as possible. I love creating meaningful art for their homes. I also know that my clients are busy. They can come to me for the holidays and big events in their lives, but what about the special little things that happen in their homes everyday? That's why I encourage my clients to take more photos at home. Today I want to offer a few tips to help improve the way you capture the magical moments in between studio sessions. 1. Get to know your camera! You don't need to study your manual cover to cover, but at least familiarize yourself with the different scene modes your camera offers. Most point and shoot digital camera on the market include: - Portrait mode: This is best for photographing faces up close. - Landscape mode: This is best for scenery and large outdoor vistas. - Night mode: This is best for shooting portraits at night with a flash. - Sports mode: This is the shooting mode you might find most useful when taking photos of your children, because everyone knows that kids are fast! This mode will help freeze the action when your kids are running around a soccer field or just your backyard. 2. Give them something to do with their hands. A small prop goes a long way to keep a kid in their seat long enough for you to snap a great photo. A stool or rocking horse can keep them grounded where you want them to be. A prop also gives you a great opportunity to catch your child interacting with their environment. Don't get discouraged if they throw it at your head and run away, though! Get candid shots of them on the run! Remember that it's not always about the smile. A pout or tears can make a beautiful and unique photo. 3. Make it a game! If you want your child to sit or stand a certain way, show them! Tell them you're playing copycat and they win if they do what you do! Simon Says is also a great way to do this. For older kids, a great trick is to play the I bet you can't game. Saying "I bet you can't kiss your sister on the cheek" or "I bet you can't smile with your teeth!" is a good way to get what you're looking for. Showing them their photo on the back of the camera can help interest a child but use this as a last resort or else they'll make you stop and show them after every click of the shutter! Remember to give them a little prize when they do well. Next time they'll look forward to posing for a picture. 4. Turn off the flash and look for the light! You need flash sometimes if you're shooting at night or somewhere very dark. In many other situations, though, it's best to switch to no-flash mode on your camera. Flash can highlight unflattering features. Your best bet is to head outside or find a spot in your home that lets in natural light. The light coming in from a large window or your front door can make an otherwise plain portrait beautiful. Face your child toward the light and get shooting! 5. Get in the photos!
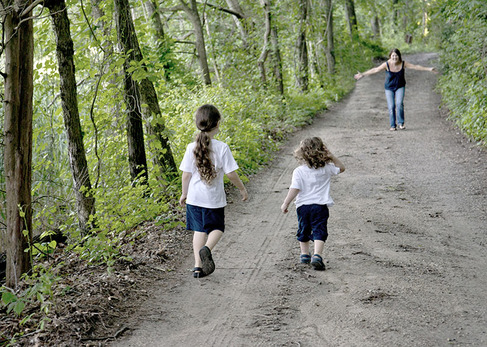
When your kids look back at these photos when they're older, they want to see you in them too! Learn how to use your camera's self-timer or hand the camera off to someone else to make sure you're included in some of the special moments you're going to capture! Getting a small tripod or putting your camera on a steady surface can help you document the everyday. The last tip is the one I think is the most important!! 6. Print print print! Your photos are not safe until they're on paper. Digital files are likely to get corrupted, and hard drives don't last forever. They can fail and your precious memories can go along with them! Printed photos, however, can last lifetimes, well over 100 years. Bring your photos to reputable printers that use high quality papers and inks to make sure your family can look back on your memories for generations. A yearbook style album of all your photos is a great way to organize your memories. Now get shooting!
0 Comments
Leave a Reply. |
AuthorLaura Paesano Categories
All
Archives
July 2024
Flickr
|
Email [email protected] or call 631-256-7476
All images copyright 2024 Laura Pea Photography
Contact Laura here.
Privacy Policy
All images copyright 2024 Laura Pea Photography
Contact Laura here.
Privacy Policy


